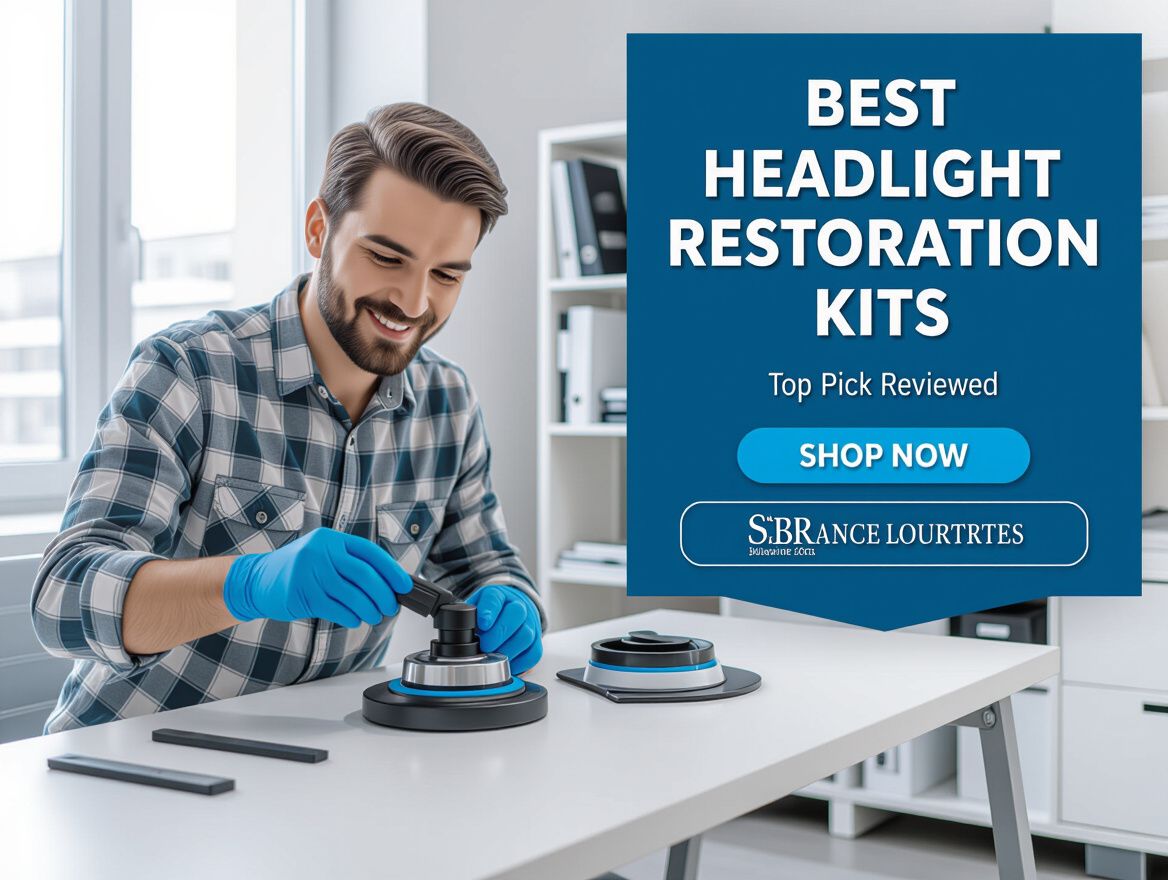
Best Headlight Restoration Kits 2023: Top Picks Reviewed
Stay updated with the latest trends in headlight restoration by exploring the best kits available in 2023. This article will provide a detailed review of the top-rated headlight restoration kits on the market, including their features, user experiences, and effectiveness. Readers will benefit from side-by-side comparisons, making it easier to select the ideal restoration kit for their specific needs.
2023’s Best Headlight Restoration Kits: A Comprehensive Review
Hazy, yellowed, or foggy headlights aren't just an aesthetic issue; they're a significant safety concern. Dim headlights reduce visibility during nighttime driving, impairing your ability to react to hazards and increasing the risk of accidents. Oxidation and UV damage break down the polycarbonate lenses, leading to this common problem. Fortunately, there are numerous solutions available, with best headlight restoration kits 2023 offering a cost-effective and accessible way to restore clarity and improve your vehicle's performance and appearance. This guide will walk you through everything you need to know to choose and use the right kit for your needs.
Understanding Headlight Oxidation and Restoration
The Science Behind Hazy Headlights
The clear plastic, or polycarbonate, that covers your headlights is susceptible to degradation from various environmental factors. Prolonged exposure to ultraviolet (UV) radiation from the sun is the primary culprit, initiating a process that makes the plastic brittle and cloudy. Other factors like heat, moisture, road salt, and pollutants compound this damage. This physical degradation doesn't just make your headlights look bad; it physically obstructs the light, reducing the lumen output and altering the beam pattern, leading to poor visibility and increased headlight glare for oncoming drivers.
Why Headlight Restoration Matters
Restoring your headlights offers a multitude of benefits that go beyond just improved looks:
- Safety First: Brighter, clearer headlights significantly enhance your visibility at night and in adverse weather conditions. This improved light output leads to quicker reaction times and a safer driving experience for you and others. Restored headlights also reduce the distracting glare that foggy lenses can cause for oncoming traffic.
- Aesthetics: Hazy headlights can make an otherwise well-maintained vehicle look neglected. Restoration instantly revitalizes the front of your car, giving it a cleaner, sharper appearance.
- Resale Value: A vehicle with well-maintained headlights projects an image of care and attention to detail, which can positively influence potential buyers and increase its resale value.
- Cost Savings: Replacing entire headlight assemblies can be an expensive endeavor, often costing hundreds of dollars. Headlight restoration kits provide a significantly more affordable solution to achieve similar results.
Types of Headlight Restoration Kits
The market offers several types of headlight restoration kits, each catering to different levels of oxidation and user preferences. Understanding these types is key to selecting the best option for your situation.
Wipe-Based Kits
These are the simplest kits, often containing pre-moistened wipes that apply a cleaning and sealing solution.
- Pros: Extreme ease of use, no tools required, highly portable for quick fixes.
- Cons: Generally less aggressive and may not provide long-lasting protection compared to more involved methods.
- Best for: Very light oxidation, quick cosmetic touch-ups, and users prioritizing convenience above all else.
Spray-Based Kits
These kits typically involve applying a cleaner and then a sealant via spray cans.
- Pros: Can provide even coverage and are relatively easy to apply.
- Cons: Requires careful masking of surrounding areas to prevent overspray, and the sealant may require a specific drying or curing time.
- Best for: Moderate to heavy oxidation where a more thorough application is needed, and users comfortable with spray applications.
Drill-Attached Kits (Wet Sanding/Polishing)
These are the most comprehensive kits, usually requiring a power drill to operate attached sanding discs and polishing pads.
- Pros: Offer the most thorough cleaning and restoration, with the potential for professional-grade results and long-lasting UV protection.
- Cons: Require a power drill, are more time-consuming, and carry a higher risk of damaging the lens if the user is not careful or precise.
- Best for: Heavily oxidized, yellowed, or faded headlights, and for experienced DIYers or those seeking the best possible outcome.
All-in-One Kits
As the name suggests, these kits aim to provide everything needed for headlight restoration in a single package.
- Pros: Offer a complete solution, ensuring you have all necessary components without having to source them separately.
- Cons: The overall effectiveness and durability can vary significantly between brands.
- Best for: Individuals who prefer a single, bundled solution and want to streamline the purchasing process.
How to Choose the Best Headlight Restoration Kit in 2023
Selecting the right kit involves considering several factors to ensure you achieve the desired results.
Key Features to Consider
- Ease of Use: Look for kits with clear, concise instructions. If you're new to car detailing, prioritizing easy headlight restoration is crucial. Kits with fewer steps or no power tool requirement might be ideal.
- Effectiveness: The kit should demonstrably remove haze, yellowing, and oxidation. Check customer reviews and product descriptions detailing its performance on different levels of damage.
- Durability of UV Protection: This is perhaps the most critical factor for long-term benefits. A good kit will include a robust UV sealant or clear coat that protects the newly restored lens from future degradation. Note the manufacturer's claimed protection duration (e.g., months or years).
- Included Components: A comprehensive kit should ideally contain all necessary abrasives (sandpaper or pads), cleaning agents, polishing compounds, and a protective sealant or UV coating.
- Type of Sealant: Understand what the sealant is. Some use a clear coat, while others offer advanced UV protectants or even ceramic coatings for superior durability and protection.
- Brand Reputation and Reviews: Always research brands and read headlight restoration kit reviews from reputable automotive sources and fellow consumers. This provides real-world insights into a kit's performance and reliability.
What to Look For in a Sealant
The sealant is what protects your freshly restored headlights from re-oxidizing. Here's what to focus on:
- UV Resistance: This is non-negotiable. The sealant must effectively block harmful UV rays to prevent future yellowing and clouding.
- Durability: Different sealants offer varying levels of longevity. Some might last 6 months, while higher-end options can provide protection for a year or even longer. Consider how often you're willing to repeat the process.
- Clarity: The sealant should dry clear and maintain the optical clarity of the restored lens without hazing or yellowing itself over time.
Top Rated Headlight Restoration Kits 2023: Reviewed
Here's a look at some of the best headlight restoration kits 2023 has to offer, based on effectiveness, ease of use, and durability.
Meguiar's Heavy Duty Headlight Kit
- Overview: A popular choice for those seeking professional-quality results, this kit is designed for thorough restoration and long-lasting protection.
- Key Features: Includes a headlight cleaner, ceramic protection sealant, drill backing plate, sanding pads, and finishing towelettes.
- Pros: Delivers exceptional clarity, provides durable protection lasting 18+ months, and known for its effectiveness on heavy oxidation.
- Cons: Requires a power drill and a more involved application process.
- Best for: Users with heavy oxidation who want professional-grade, long-lasting results.
- Link to Detailed Review: https://76c928e7.cardetailingguru-20260325-0107.pages.dev/review/meguiars-heavy-duty-headlight-kitthis-headlight-restoration-kit-includes-headlight-cleaner-ceramic-protection-drill-backing-plate-pads-towelettes-18-plus-months-of-protection-car-care-kit-b0fxctm3rx
- Link to Product: https://76c928e7.cardetailingguru-20260325-0107.pages.dev/product/B0D7QHY574
3M Headlight Restoration System
- Overview: A robust, drill-powered system renowned for its effectiveness in tackling moderate to severe headlight hazing and yellowing.
- Key Features: Comes with various abrasive discs, polishing compounds, and protective wipes to restore clarity and provide UV shielding.
- Pros: Highly effective on tougher oxidation, achieves excellent clarity, and offers good durable protection.
- Cons: Necessitates the use of a power drill and requires careful attention during the sanding stages.
- Best for: DIY enthusiasts comfortable with using power tools for a thorough and effective restoration.
- Link to Detailed Review: https://76c928e7.cardetailingguru-20260325-0107.pages.dev/review/headlight-restoration-kit-headlight-cleaner-and-restorer-kit-3-step-system-restores-clarity-removes-yellowing-oxidation-haze-long-lasting-uv-protection-b0gfcxzn1z
- Link to Product: https://76c928e7.cardetailingguru-20260325-0107.pages.dev/product/B0CS4N63HZ
Sylvania 39070 Headlight Restoration Kit
- Overview: A widely available and user-friendly option, this kit is often found in auto parts stores and simplifies the restoration process.
- Key Features: Typically follows a straightforward 3-step process, often involving a cleaner, polisher, and sealant application.
- Pros: Very easy to use with minimal steps, great for light to moderate yellowing, and doesn't require a drill.
- Cons: The durability of the UV protection might not match that of more premium, drill-based kits.
- Best for: Users prioritizing simplicity and quick fixes for minor headlight haze.
- Link to Product: https://76c928e7.cardetailingguru-20260325-0107.pages.dev/product/B09KNZLDK8
Turtle Wax 50187 Headlight Cleaner and Sealant
- Overview: A popular spray-based solution that bypasses the need for a drill, aiming for convenience and effective restoration.
- Key Features: Combines cleaning, polishing, and sealing into a single spray application.
- Pros: Simple spray application process, delivers good results for moderate haze and yellowing.
- Cons: Requires careful application to avoid streaks, and durability can vary.
- Best for: Those looking for a no-fuss spray solution for headlight clarity.
- Link to Product: https://76c928e7.cardetailingguru-20260325-0107.pages.dev/product/B0D643DKJW
10X Brighter Headlight Restoration Kit
- Overview: This kit positions itself as a rapid and highly effective solution for significantly improving headlight clarity.
- Key Features: Often a multi-step process employing specialized cleaners and advanced sealants.
- Pros: Promises dramatic improvements in clarity and brightness, typically requiring no power tools.
- Cons: Claims of extreme durability should be cross-referenced with user experiences and longer-term reviews.
- Best for: Individuals seeking noticeable results with minimal effort and time commitment.
- Link to Detailed Review: https://76c928e7.cardetailingguru-20260325-0107.pages.dev/review/10x-brighter-headlight-restoration-kit-pro-grade-headlight-cleaner-sealant-fixes-yellowed-cloudy-lenses-to-crystal-clear-in-5-mins-car-accessories-car-cleaning-supplies-for-night-driving-safety-b0fzzj
- Link to Product: https://76c928e7.cardetailingguru-20260325-0107.pages.dev/product/B0CQRVLKHB
Other Notable Headlight Restoration Products
While the above are top contenders, other products like the Chemical Guys Headlight Restorer also deserve mention for their effectiveness in addressing cloudy and oxidized headlights. Exploring a wider range of options can be beneficial.
Step-by-Step Guide: How to Restore Your Headlights
While specific instructions vary by kit, the general process for most headlight restoration involves these key stages. Always refer to your chosen kit's manual for precise steps.
Preparation is Key
- Gather Supplies: Ensure you have all items from your chosen kit, plus a clean water source, microfiber towels, and potentially a tack cloth.
- Wash and Dry: Thoroughly wash the headlight lenses to remove surface dirt and debris. Dry them completely.
- Masking: Use painter's tape to carefully mask off the surrounding paint and trim of your vehicle. This prevents accidental scratches or damage from abrasives and polishing compounds.
The Restoration Process (General Steps)
- Step 1: Cleaning/Abrasion: If your kit includes sanding, start with the coarsest grit provided and work your way down to the finest. Wet sanding is often recommended. If it's a cleaner/polish kit, apply the cleaner and scrub as directed. The goal here is to remove the oxidized layer.
- Step 2: Polishing: After abrasion (if applicable), use the polishing compound to restore clarity to the lens. This step buffs out the sanding marks and brings back the shine.
- Step 3: Protection: This is a critical final step. Apply the UV sealant or protective coating evenly across the entire headlight lens. Allow it to cure for the duration specified by the manufacturer – this is vital for its longevity.
Tips for Best Results
- Work in Shade: Avoid direct sunlight, which can cause products to dry too quickly and lead to uneven results.
- Consistent Application: Maintain consistent pressure and motion during sanding and polishing for a uniform finish.
- Don't Skip Sealant: The UV sealant is what protects your hard work from future degradation. Never skip this step.
- Read the Instructions: Always adhere strictly to the instructions provided with your specific kit.
- Link to General Guide/Overview
Maintaining Your Restored Headlights
Proper maintenance will extend the life and clarity of your restored headlights.
The Importance of UV Protection
The sealant applied during restoration is your primary defense against future oxidation. It acts as a barrier against the damaging UV rays that caused the initial problem. Ensuring this layer remains intact is key.
Regular Cleaning
Wash your car regularly, including the headlights. Use mild car wash soap and a soft cloth or sponge. Avoid abrasive cleaners or harsh chemicals, which can degrade the protective sealant over time.
Reapplication of Sealant
Depending on the kit's sealant quality, your local climate, and sun exposure, you may need to reapply the UV sealant periodically. Look for signs of the headlights starting to haze again, usually after 6 months to 2 years. Reapply the sealant as instructed by the kit manufacturer.
Frequently Asked Questions (FAQs)
-
Will a headlight restoration kit work on all types of headlights? Most modern vehicles use polycarbonate headlights, which are what these kits are designed for. Older vehicles might have glass headlights, which don't oxidize in the same way. Kits primarily target the degradation of polycarbonate lenses.
-
How long do the results typically last? The longevity of restored headlights varies greatly depending on the kit's quality, the effectiveness of its UV sealant, environmental conditions (UV exposure, weather), and how well they are maintained. Expect results to last anywhere from 6 months to over 2 years.
-
Can I use something other than a kit, like toothpaste? While some DIY hacks like toothpaste or baking soda might offer a very temporary, minor improvement for light haze, they lack the chemical cleaning action and crucial UV protection offered by dedicated restoration kits. These hacks can sometimes even cause more damage.
-
How often should I restore my headlights? This depends on your vehicle's age, exposure to sunlight, and the quality of the previous restoration (if any). Typically, you'll notice hazing reappearing visually. For most well-protected headlights, re-restoration might be needed every 1-3 years.
-
Do I really need a drill? Not necessarily. Drill-attached kits generally offer the most thorough and professional results due to the power and consistency they provide. However, many excellent no-drill manual kits are available that can achieve great results with a bit more elbow grease, making them ideal for easy headlight restoration.
Conclusion: Brighten Your Drive Safely
Restoring hazy headlights is a rewarding project that significantly impacts both the safety and appearance of your vehicle. Investing in one of the best headlight restoration kits 2023 offers tangible benefits, from enhanced night driving visibility to an improved aesthetic.
Recap of Top Picks
For those seeking the most thorough results and durability, the Meguiar's Heavy Duty Headlight Kit and the 3M Headlight Restoration System are excellent drill-based options. For unparalleled ease of use and quick fixes, consider the Sylvania 39070 or the Turtle Wax 50187. The 10X Brighter Headlight Restoration Kit stands out for its promise of rapid and dramatic improvement.
The Value Proposition
The value of DIY headlight restoration cannot be overstated. It's a cost-effective way to improve driving safety, boost your car's visual appeal, and potentially increase its market value, all without the expense of professional services or new headlight units.
Final Recommendation
Choose a headlight restoration kit that best suits your comfort level with DIY tasks, the severity of your headlight oxidation, and your desired level of durability. The reviews and guides provided aim to empower you to make an informed decision.
Call to Action: Don't compromise on safety or style. Invest in clear headlights today for a safer, more enjoyable, and visually appealing driving experience.